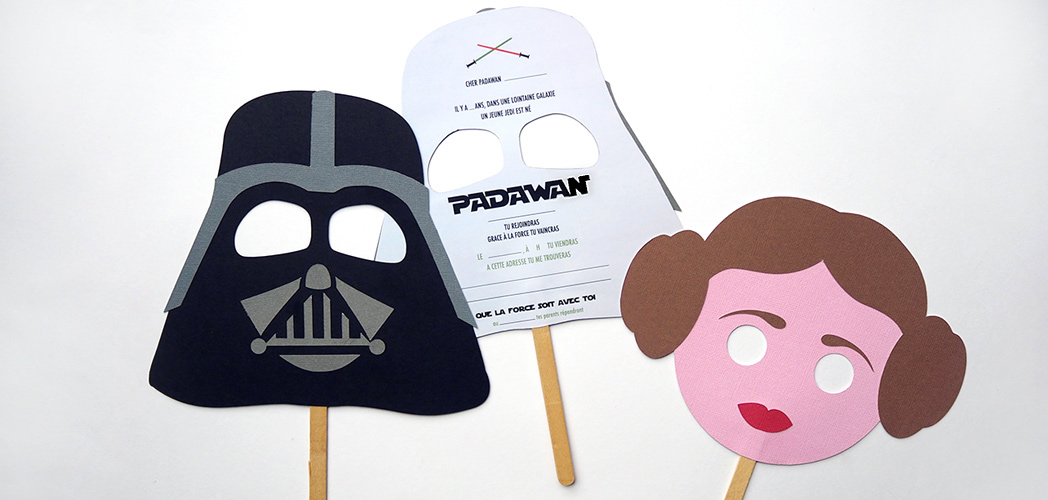
Creating a memorable invitation for your Star Wars-themed party can be both fun and rewarding. A Star Wars mask invitation not only sets the tone for the event but also serves as a unique keepsake for your guests. Here are two methods to create your own DIY Star Wars mask invitation, ranging from a simple approach to a more detailed and elaborate one.
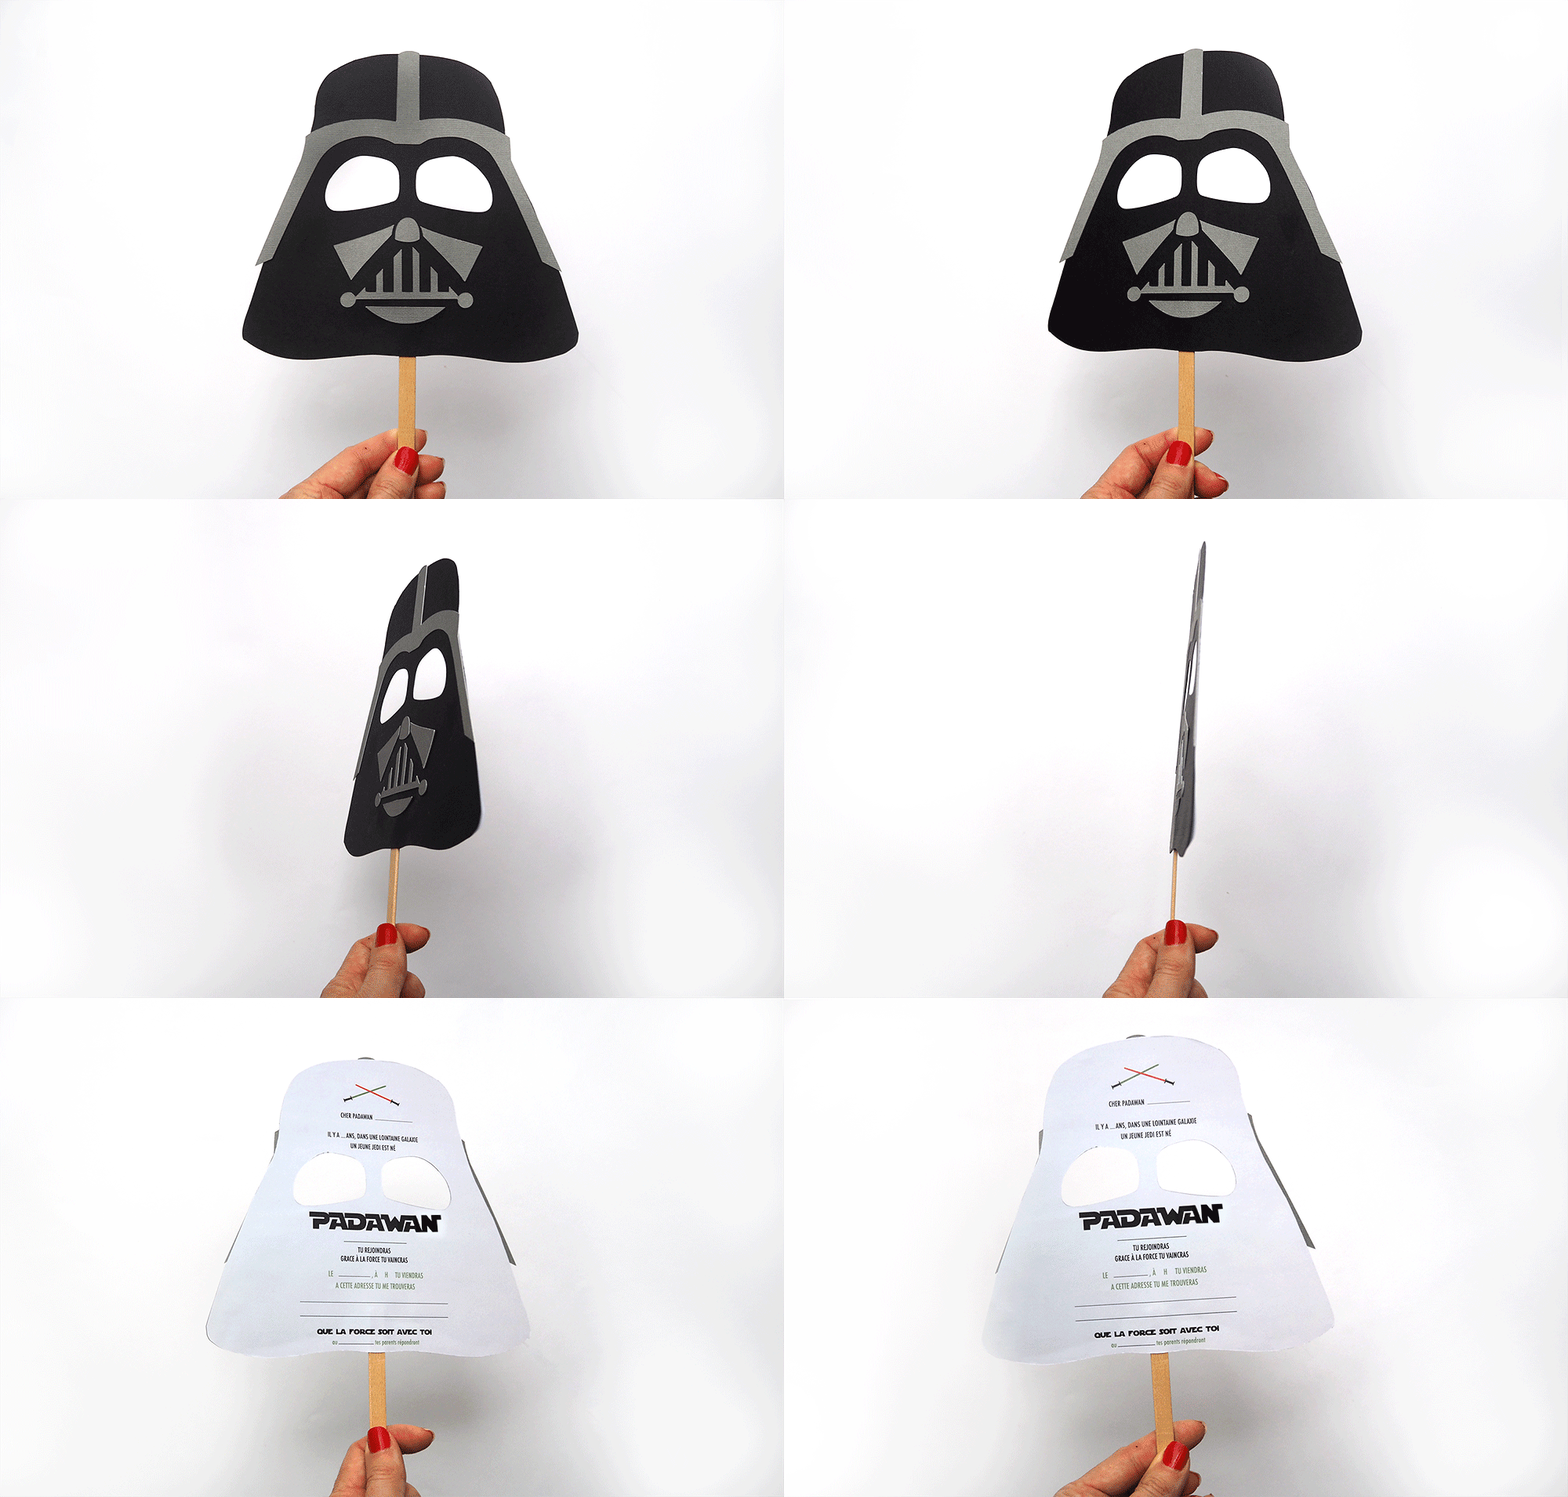
First Method: Simple and Easy
Materials Needed:
- PDF file (download through the provided link)
- Sturdy paper
- Scissors
- Glue or double-sided tape
- Wooden or plastic wand (for holding the mask)
- Printer
Instructions:
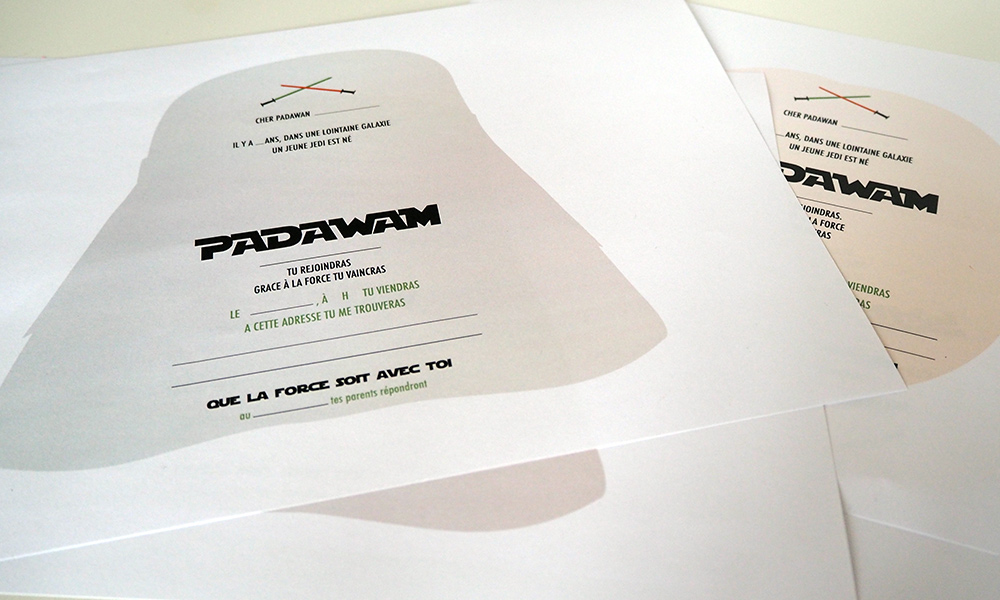
- Download and Print: Begin by downloading the PDF file using the following link: Download PDF. Print out the template on sturdy paper.
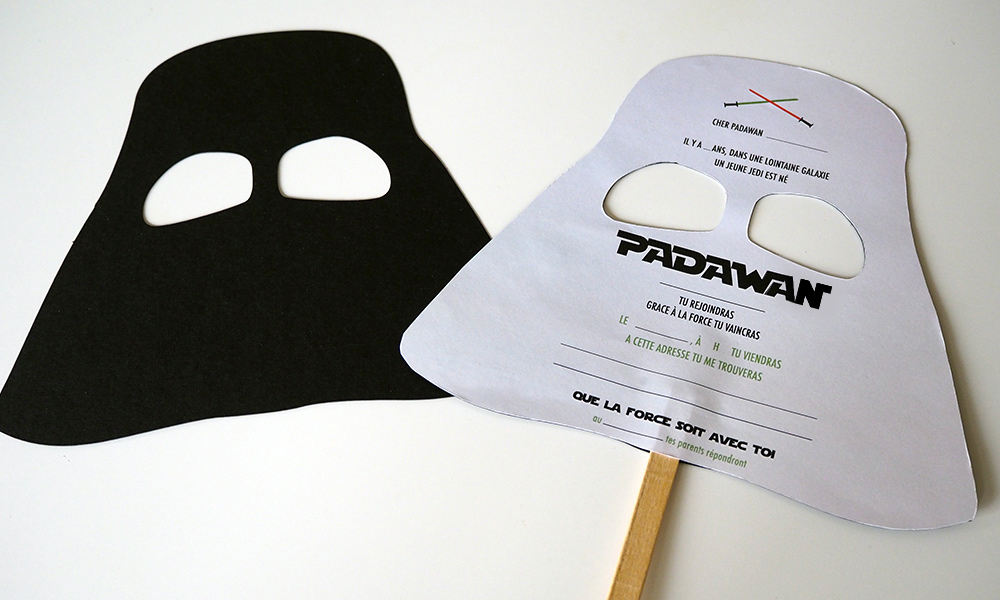
- Cut Out the Shapes: Carefully cut out the face of the invitation from the printed template. Then, cut out the back piece.
- Assemble the Mask: Apply glue or double-sided tape to the back of the face cutout. Place the wand between the face and back pieces, ensuring it extends enough for holding the mask.
- Attach the Back Piece: Stick the back piece onto the face cutout, sandwiching the wand in between. Make sure the edges align perfectly.
- Finish with Eye Holes: Cut out the eye holes on the mask. This completes your simple and easy Star Wars mask invitation.
Second Method: Detailed and Decorative
Materials Needed:
- Vector file (download through the provided link)
- Canson paper or any thick, high-quality paper
- Cutting machine (optional)
- Scissors (if not using a cutting machine)
- Glue or double-sided tape
- Wooden or plastic wand (for holding the mask)
- Printer
Instructions:
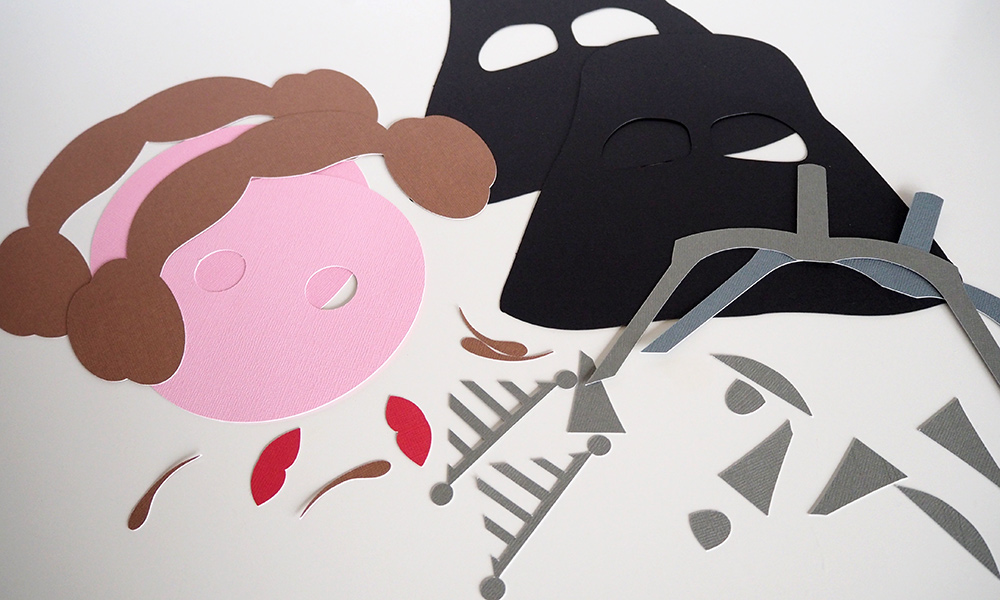
- Download and Prepare: Download the vector file using the following link: Download Vector File. If you have a cutting machine, upload the vector file and let the machine do the cutting for you. If not, print the template on Canson paper and proceed to cut manually.
- Cut the Face Shapes: Carefully cut out each face shape from the Canson paper. This step might take some time but will result in a more polished and detailed look.
- Assemble the Mask: Glue the face shapes together to form the mask. If you used a cutting machine, this step will be much quicker and more precise.
- Add the Wand: Apply glue or double-sided tape to the back of the mask, insert the wand, and press firmly to ensure it sticks well.
- Attach the Back Piece: Glue the back of the invitation to the mask, ensuring the wand is securely sandwiched between the layers.
- Finish with Eye Holes: Carefully cut out the eye holes. This adds the final touch to your detailed Star Wars mask invitation.
Final Tips
- Customization: Feel free to add personalized touches to the invitations, such as guest names or additional decorative elements.
- Quality Materials: Using high-quality paper and glue will ensure your invitations are durable and visually appealing.
- Advanced Tools: If you have access to a cutting machine, it can save time and enhance the precision of your cuts.
Creating your own Star Wars mask invitations can be a delightful project that enhances the excitement for your upcoming party. Whether you opt for the simple method or the more detailed approach, your guests are sure to be impressed by these creative and thematic invitations. May the Force be with you as you craft your way to a fantastic event!



Leave a Reply