School exhibitions are a great way to apply theoretical knowledge to practical situations. Kids get an in-depth knowledge of the topics. But the success of school exhibitions depends upon participation of students. In case of younger students, it is the parents who need to volunteer to participate. For my son’s health themed school exhibition, we were asked to participate with a DIY project. Since my daughter’s cardboard box house project was applauded by all the teachers, we were requested to create another model – this time a Hospital!
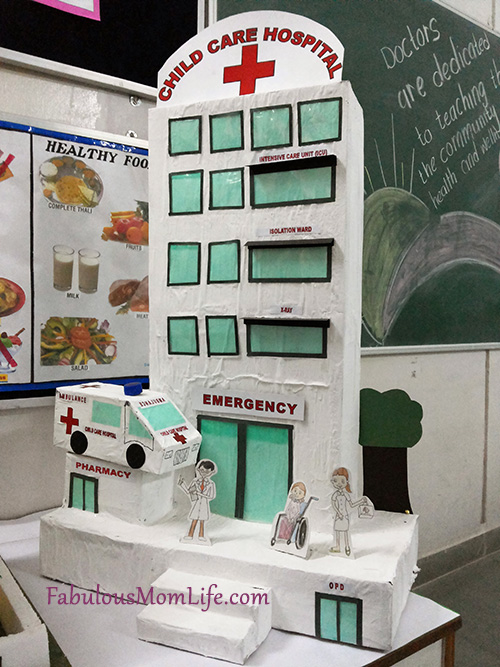
Here is our Cardboard Box Hospital Model and below are some very graphic steps to make one yourself. Please be patient while the images load. I have included plenty of them!
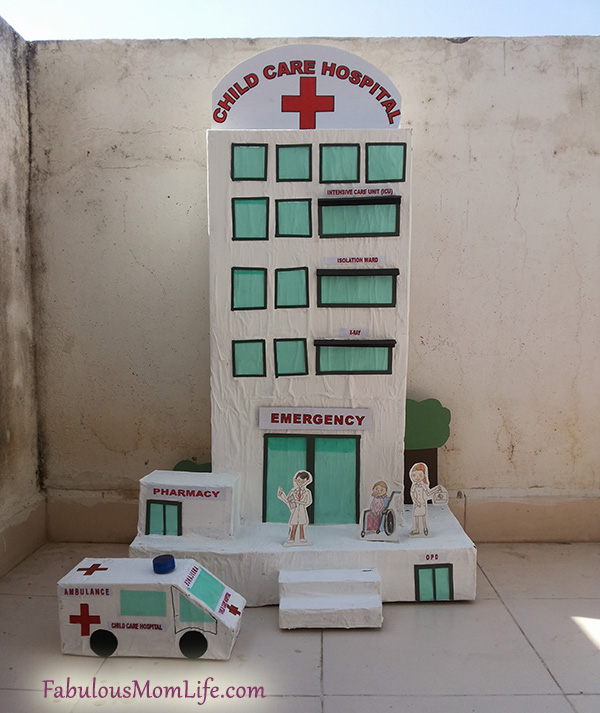
How to Make a Hospital Model using Cardboard Boxes
1. The first step is to gather cardboard boxes. See what you have (it pays to shop online!) and try to put them together to make a hospital building. Here is what I used for the base.
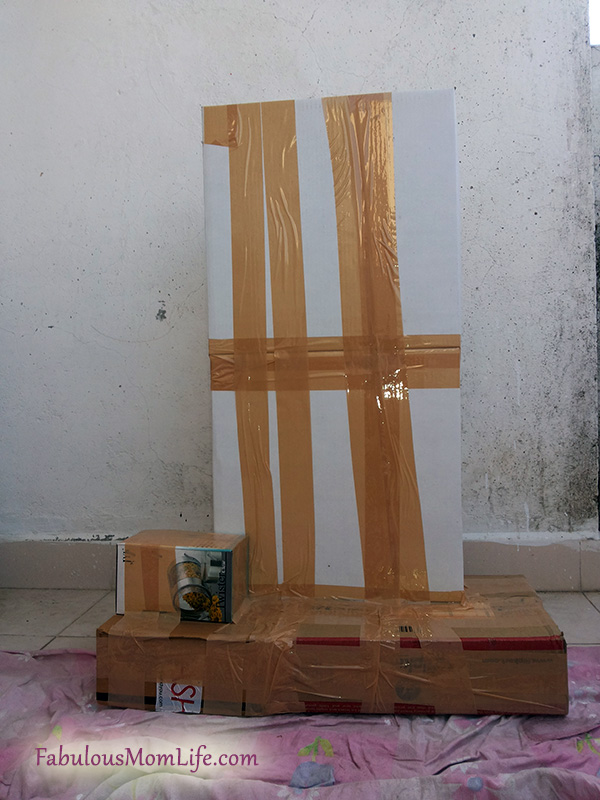
2. Glue the boxes together and use packing tape to hold them securely.
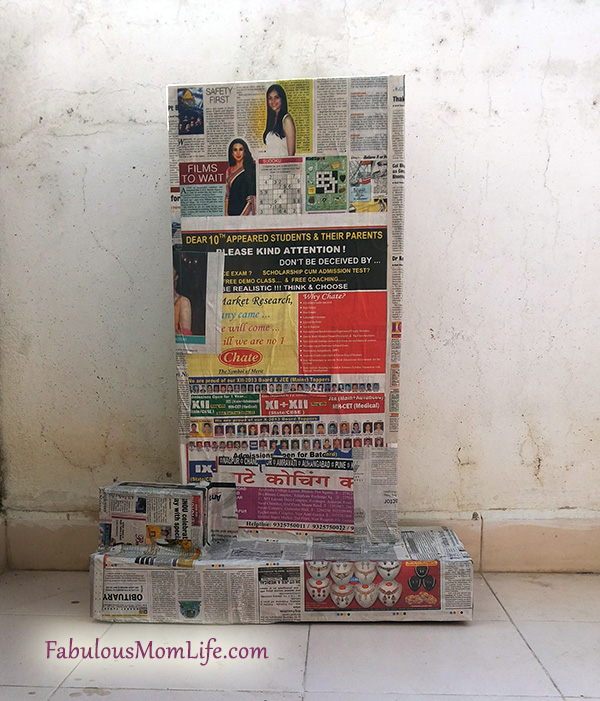
3. Cover the prepared base with newspaper (or tissue paper, that will be easier to paint white, but you will need lots of it).
4. Paint the newspaper covered base in white. I buy white wall paint from the hardware store. Apply 2-3 coats until you get a plain white base.
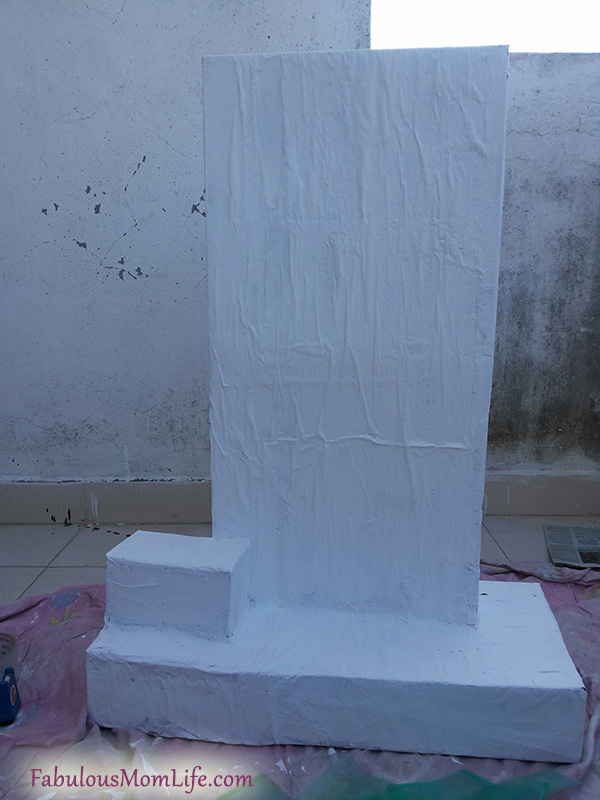
5. I created a semi-circular top sign by cutting a piece of cardboard into shape. It was glued to the top as seen below.
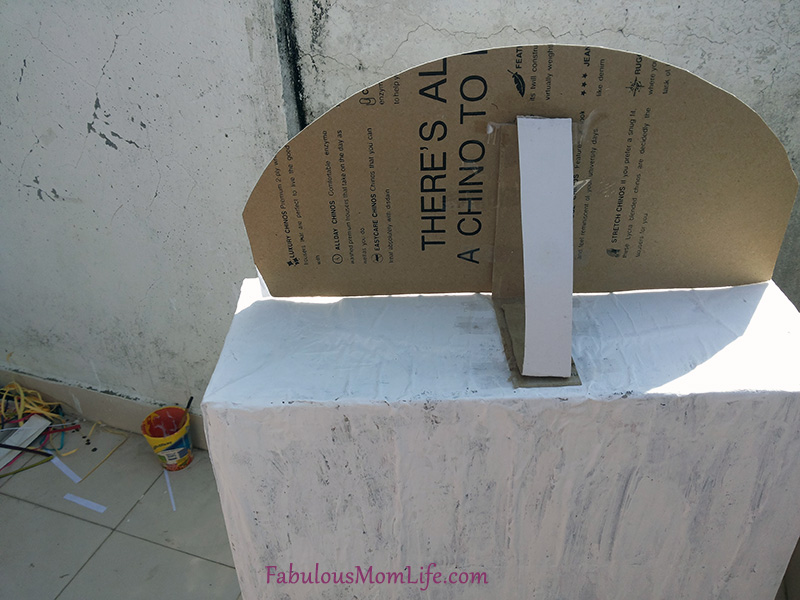
6. Now, you will need several printouts using your printer. The name of the hospital and the various departments you intend to mark on it. Cut the name sign in the shape of the cardboard and glue to the cardboard.
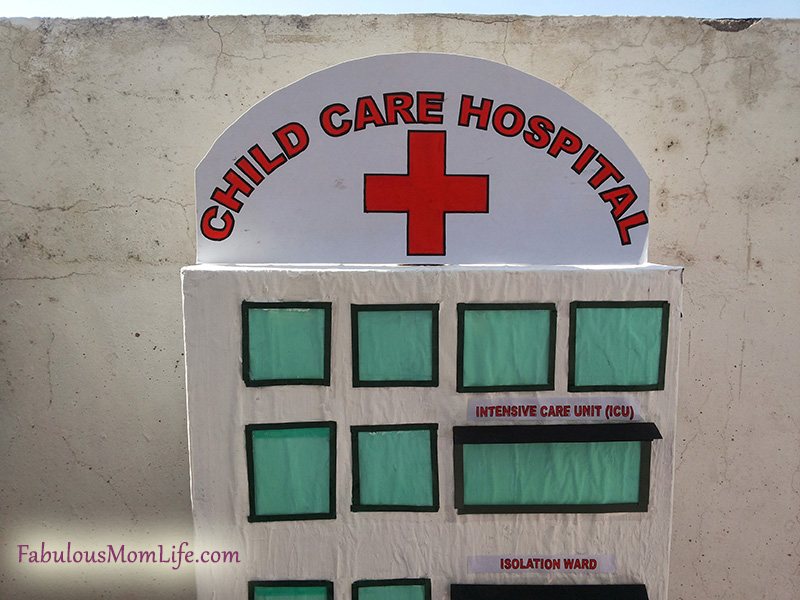
7. To make windows, I used a transparent plastic file/folder. You can find them easily at stationery shops. The translucent plastic makes the windows look very real.
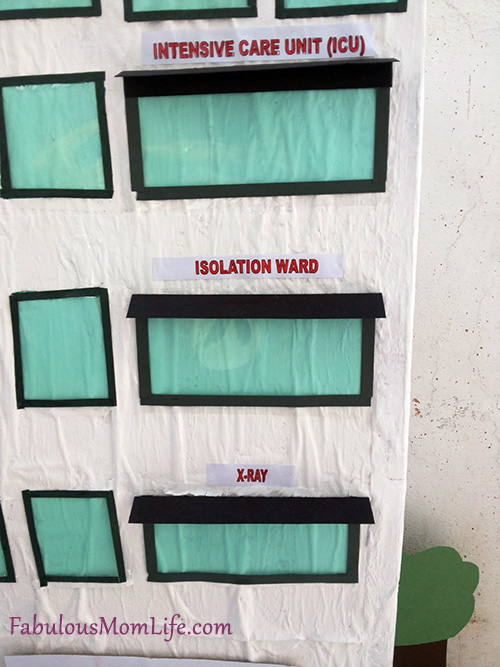
8. Create a black border for each window with black quilling strips (or cut strips of black paper). Glue the names of different departments.
Making the Steps/Stairs
9. Use toothpaste and similar cartons to make the steps. Glue them together to create a graduated step. Glue and tape them securely. Then follow the steps for the hospital model and cover them with newspaper and paint them white.
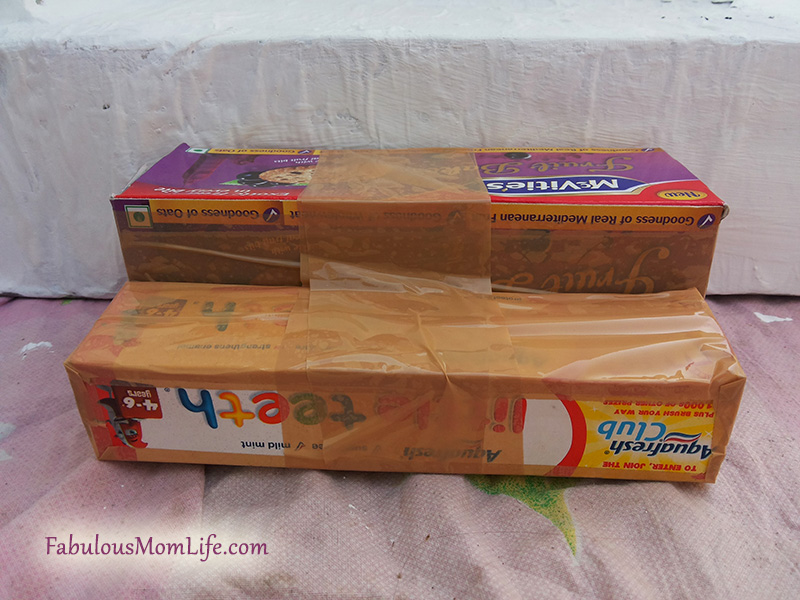
Glue the prepared steps to the center front of the base of your cardboard box hospital model.
Adding Details
10. Now you need to add some interesting details – mainly human figures and some landscaping. I have an excellent artist in my daughter and she was happy to make these pretty figures of a Doctor, a Nurse and a Patient in a Wheelchair. You can always print out some clip art and use that instead.
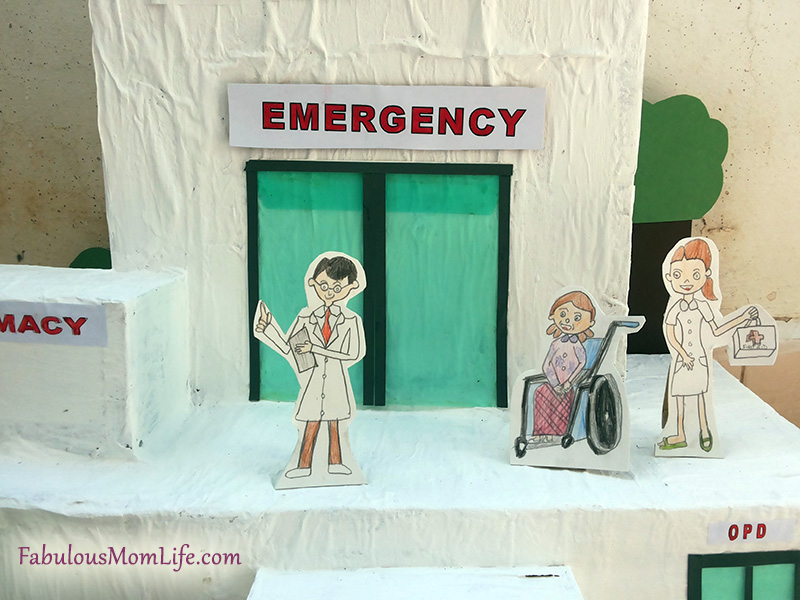
11. Use card paper to make some trees and bushes and glue/tape them securely.
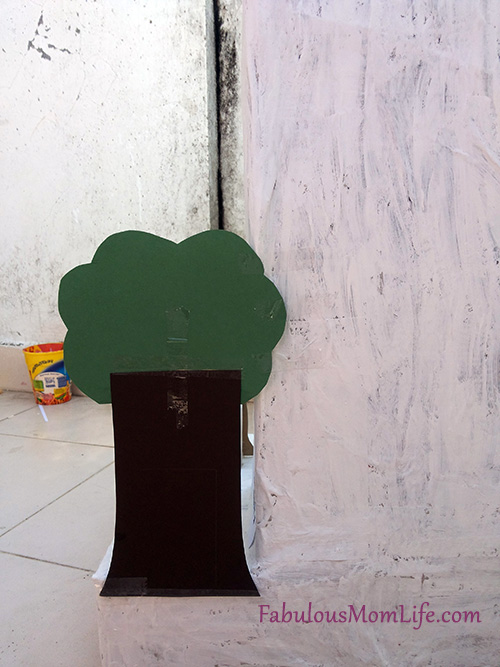
Making an Ambulance Using Cardboard Box
12. And finally – the ambulance. You will need a rectangular cardboard box to make one. Open the flap and glue it at an angle as shown, to make the shape of a van.
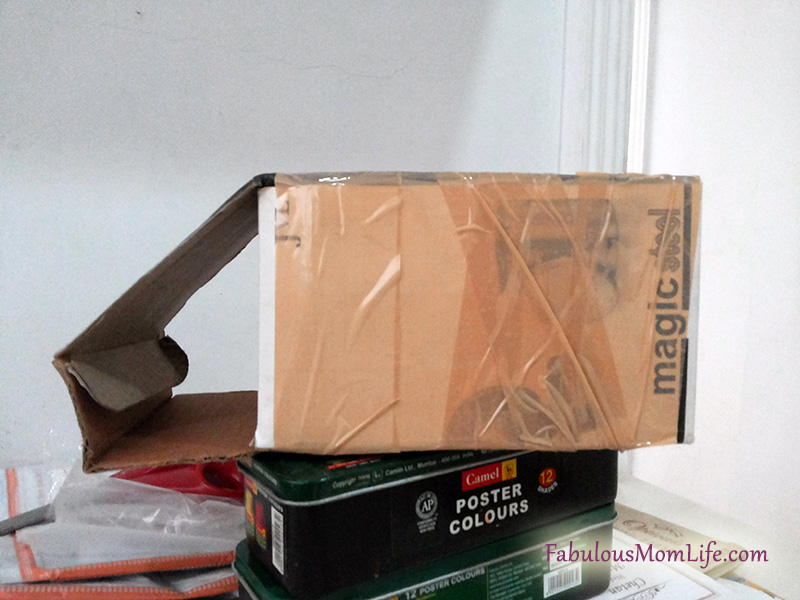
13. Cover the cardboard box with newspaper and paint it white.
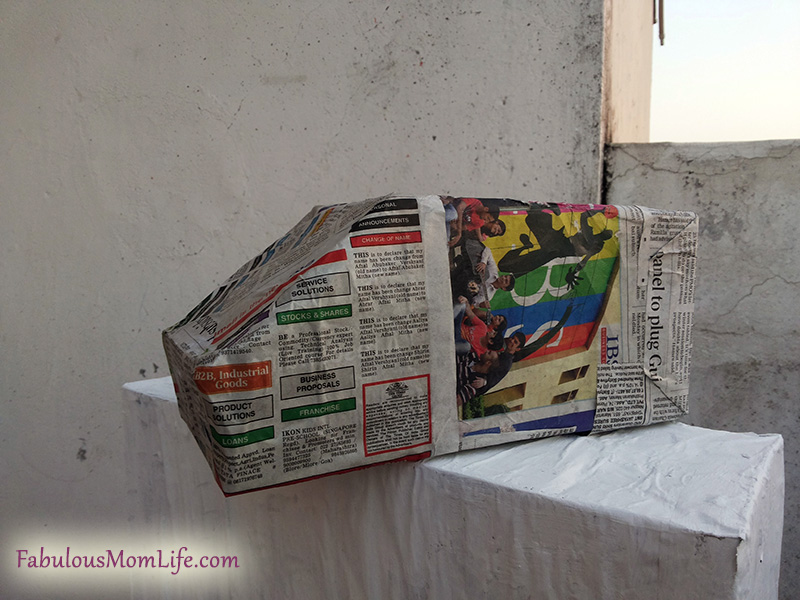
14. Add some printed details, plastic file windows and a bottle cap for the light. Place it before your cardboard box hospital model to complete the look.
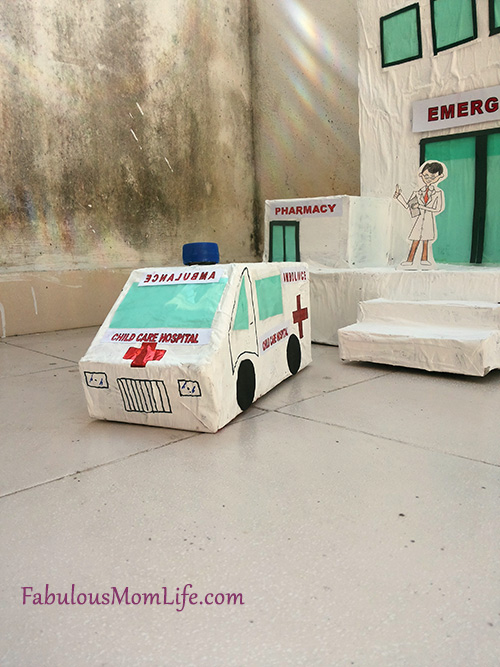
Note: Don’t forget to mirror the word ‘AMBULANCE’ on the front of the vehicle!
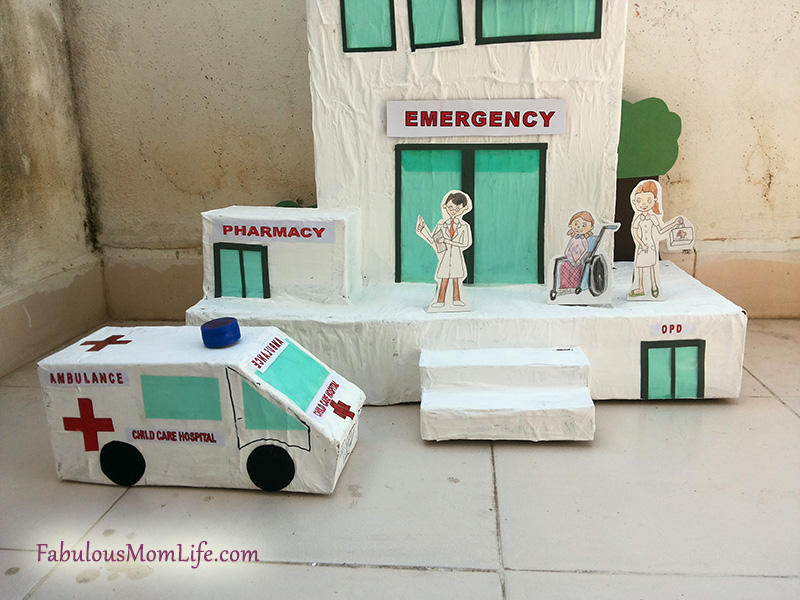
That’s it! You’re done!
Extra Shots
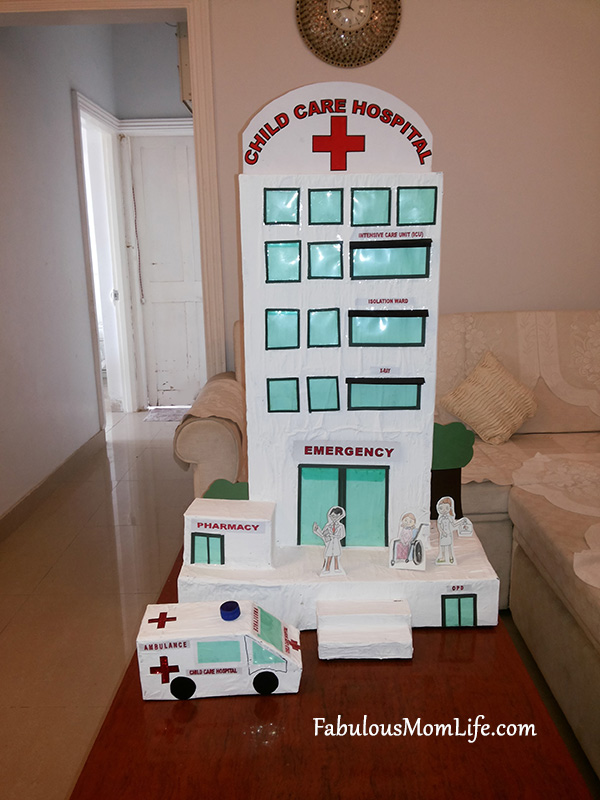
Here is our model ready to carry to school.
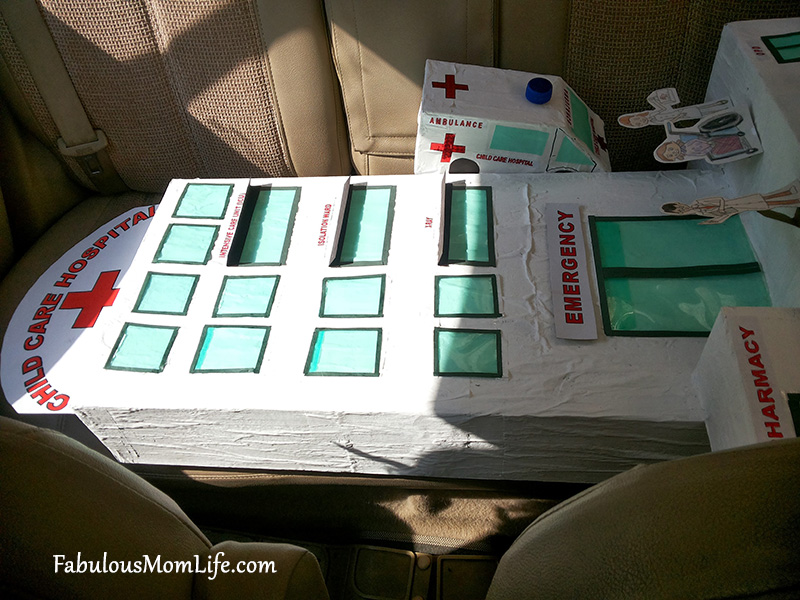
And here you see it in the back seat of our car – being transported to school.
On display at the ‘Health Expess’ school exhibition.
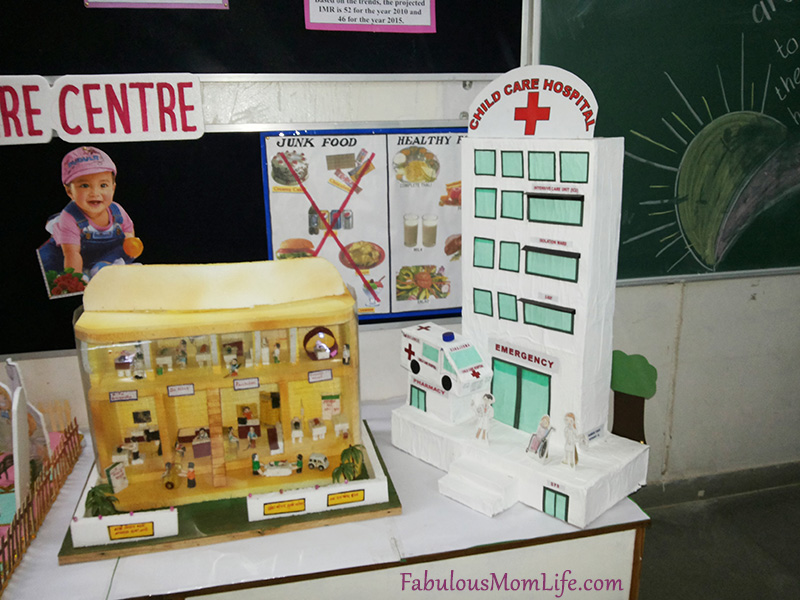
And here’s another superb hospital model – showing the activity inside each ward. I wonder why I did not think of something like this. But I am sharing the idea with you, in case you are required to make one 🙂
Happy Crafting!


What a fabulous project !!
I’m sure your kids get A+ with this creativity
Thanks Aishwarya! It was a much needed creative respite 🙂
even the depts. are so accurate !
loved the tiny details
Thanks Jayanthi! 🙂
Very nice and detailed work. Art and craft should be encouraged at home and school to help the children remain creative.
Awww… it turned out so so cute. school projects are more like parents creativity tests these days
So intricately made! DIY projects are time consuming and require tedious efforts. Kudos to you for doing such a great job at this!
Wow impressed. Let me my girl grow a little more, i will show her this . Bookmarking!
mommystimeline.com/summer-safety-tips-guide-to-protect-kids/
Amazing diy
Amazing I am sure they must have got praises from school .. I love the detailing really creative
https://rattlebabblebattle.wordpress.com
Loved all the tiny details. And great idea for making the windows. ❤
i sos so so loved it…completely my kind of diy stuff….you are a creative mama..your kids are blessed!!!
Allthatsmom
Showing this post to my Daughter…She is big time in DIY. Looks awesome!
I’m superbly impressed by u n ur creativity… simply awesome n great effort… y in school they kept ambulance on top of pharmacy
This is fabulous. will definitely try it for my bub.